Create a Countdown Timer
The Countdown Timer is used to create customers’ eagerness for the upcoming products and increase sales to your store. In order to manage this setting, kindly follow the below instructions to know how to set it up:
Step to manage:
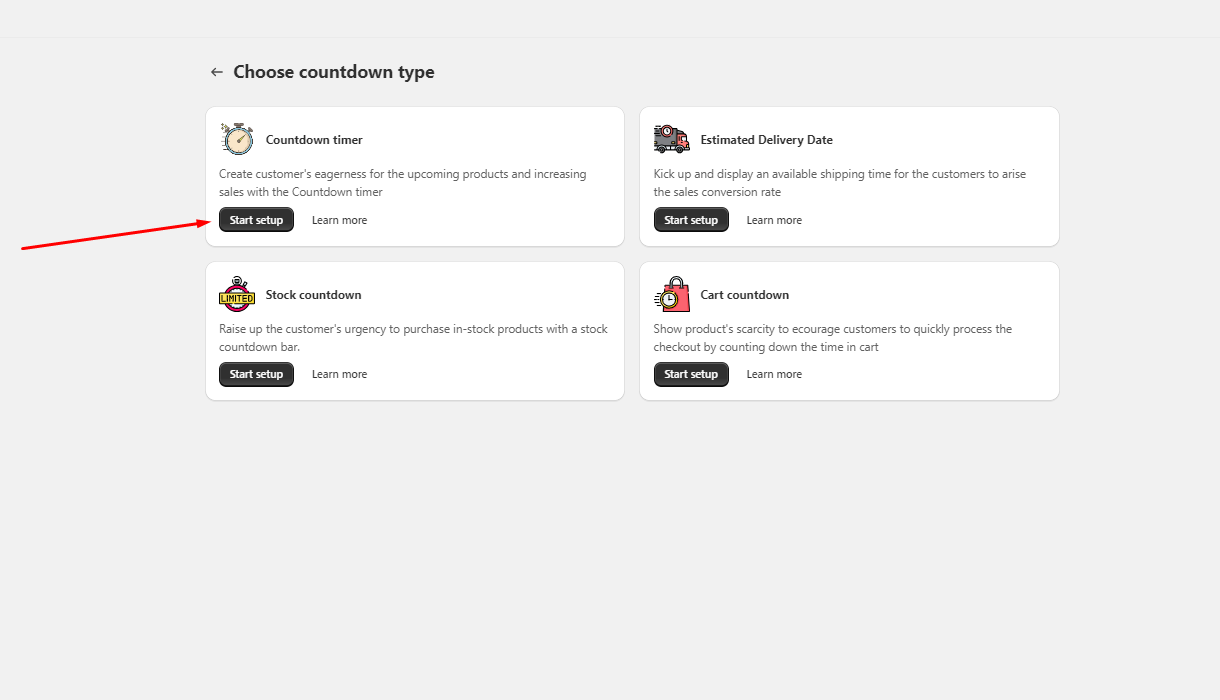
From the Countdowns page of the app > Click on Create countdown > Choose Countdown Timer
There are 3 steps to set up a Countdown timer: Settings, Design, and Display. The Settings page is showing first when accessing the Countdown timer:
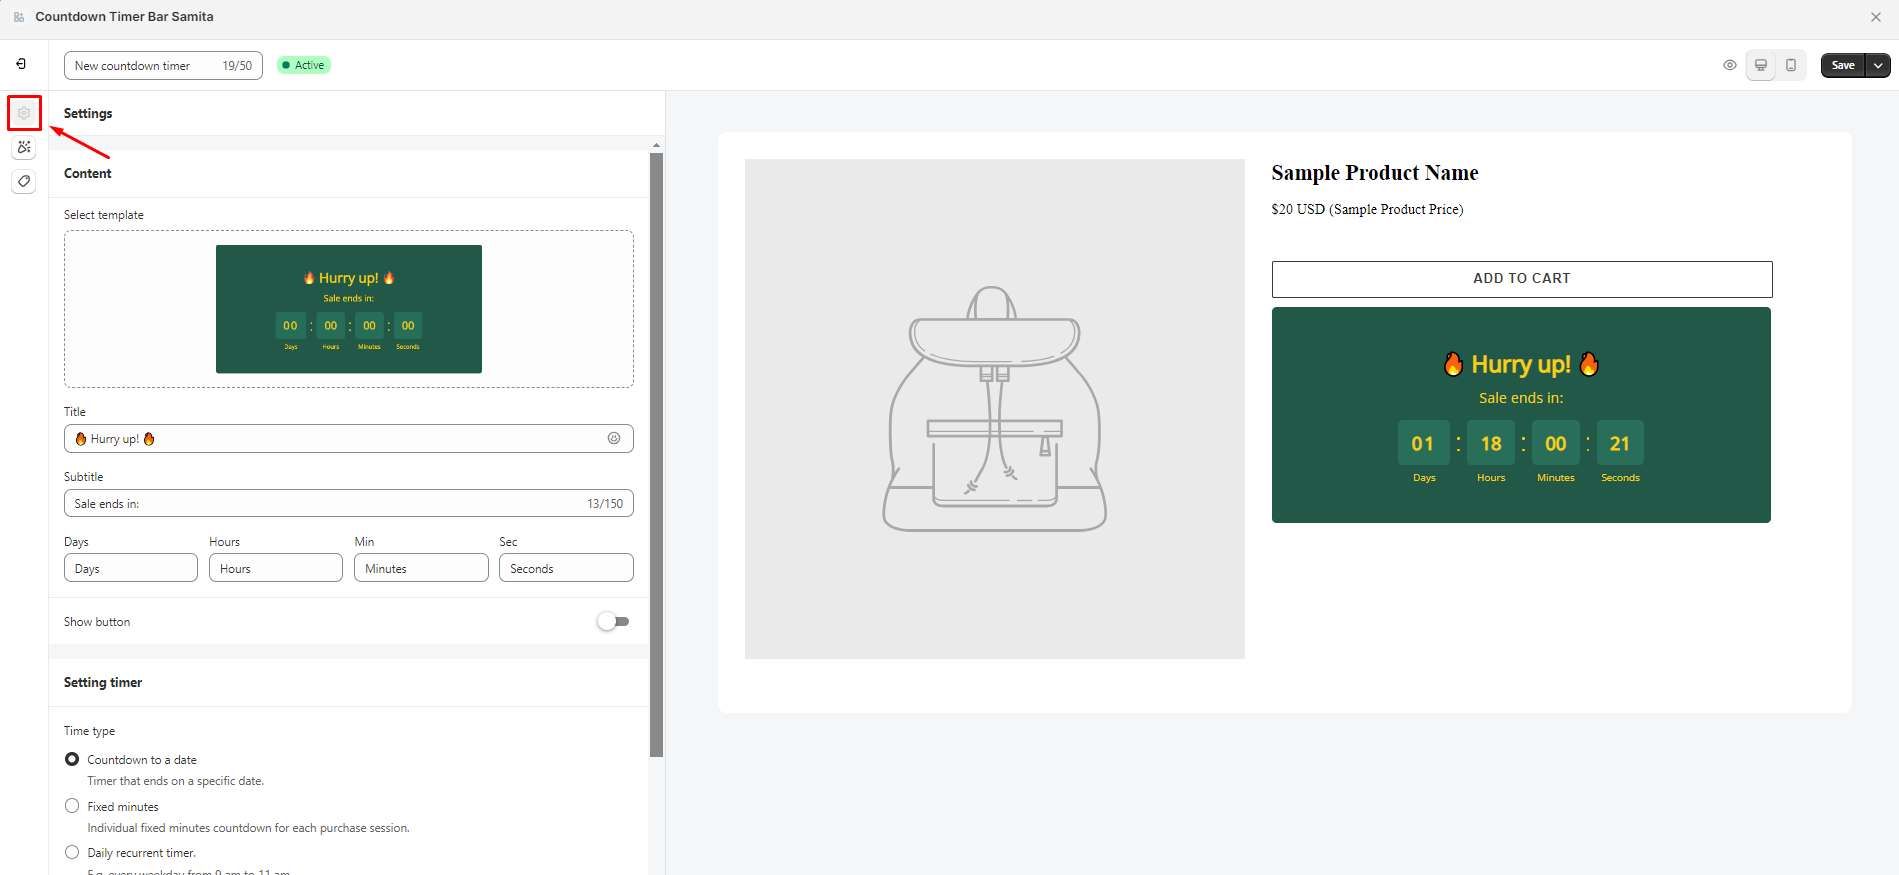
Setting content:
You can edit and configure the content of the timer in this step.
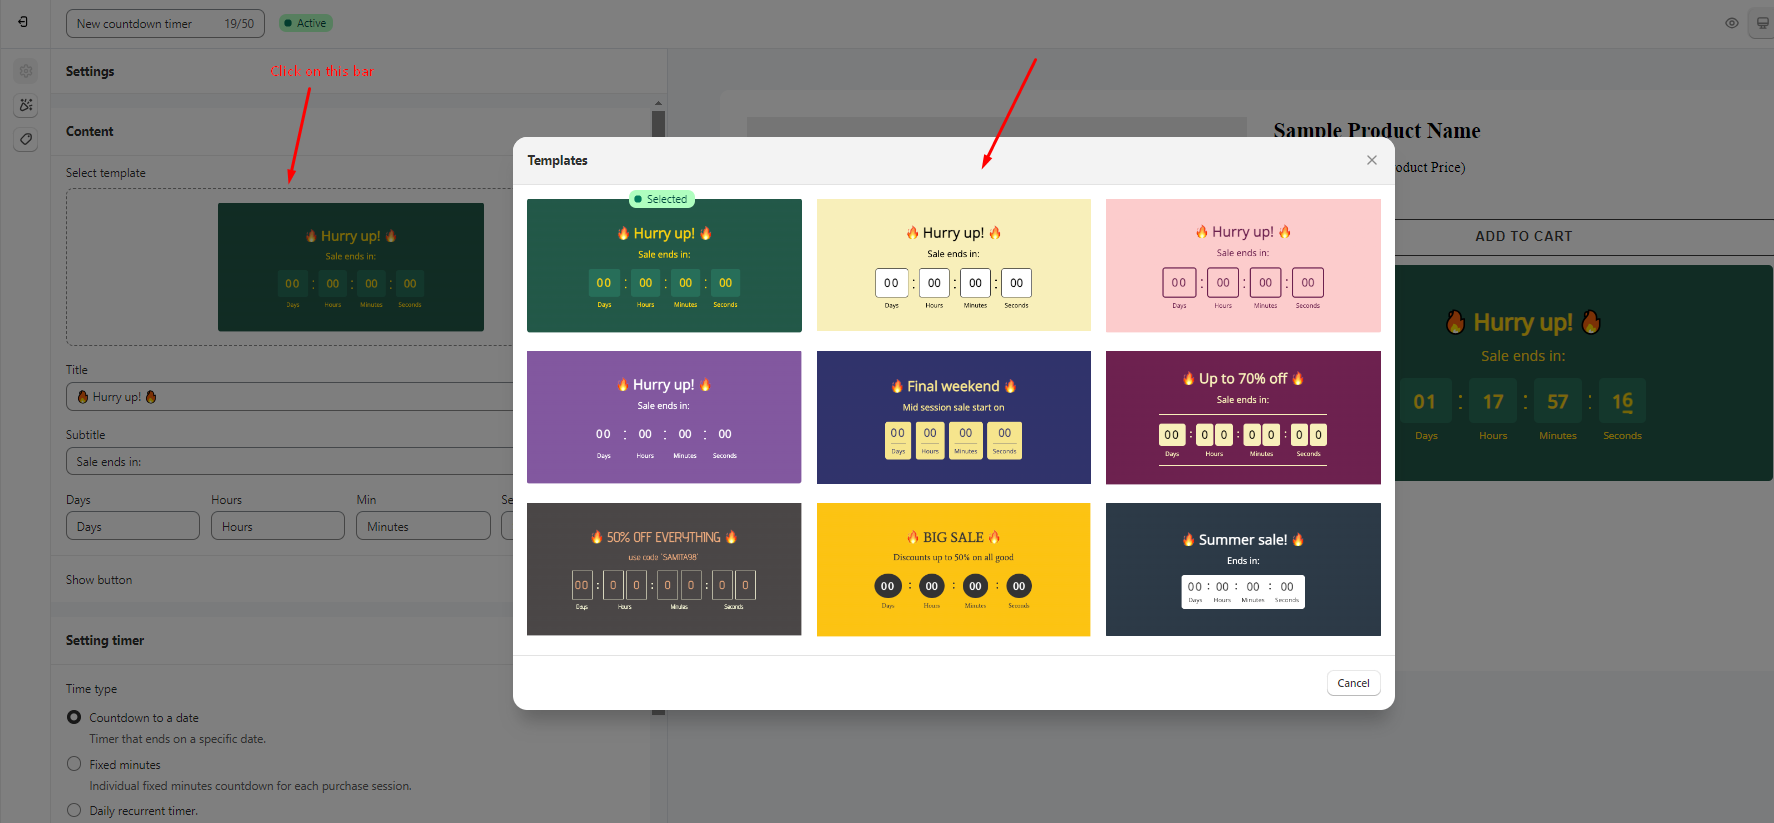
- In the Content section, click on the Template and choose the one you like:
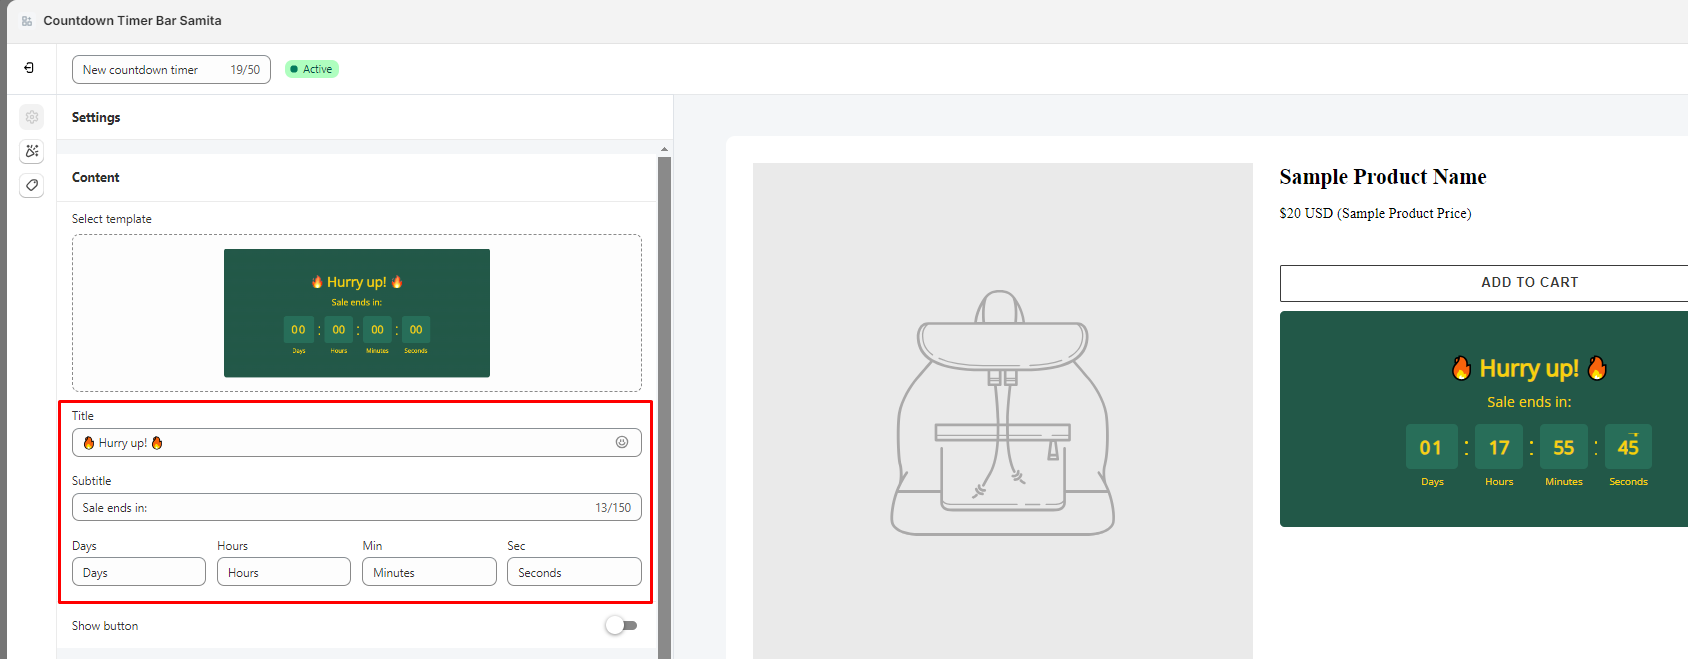
2. Set up Title, Subtitle and Date format for the Timer:
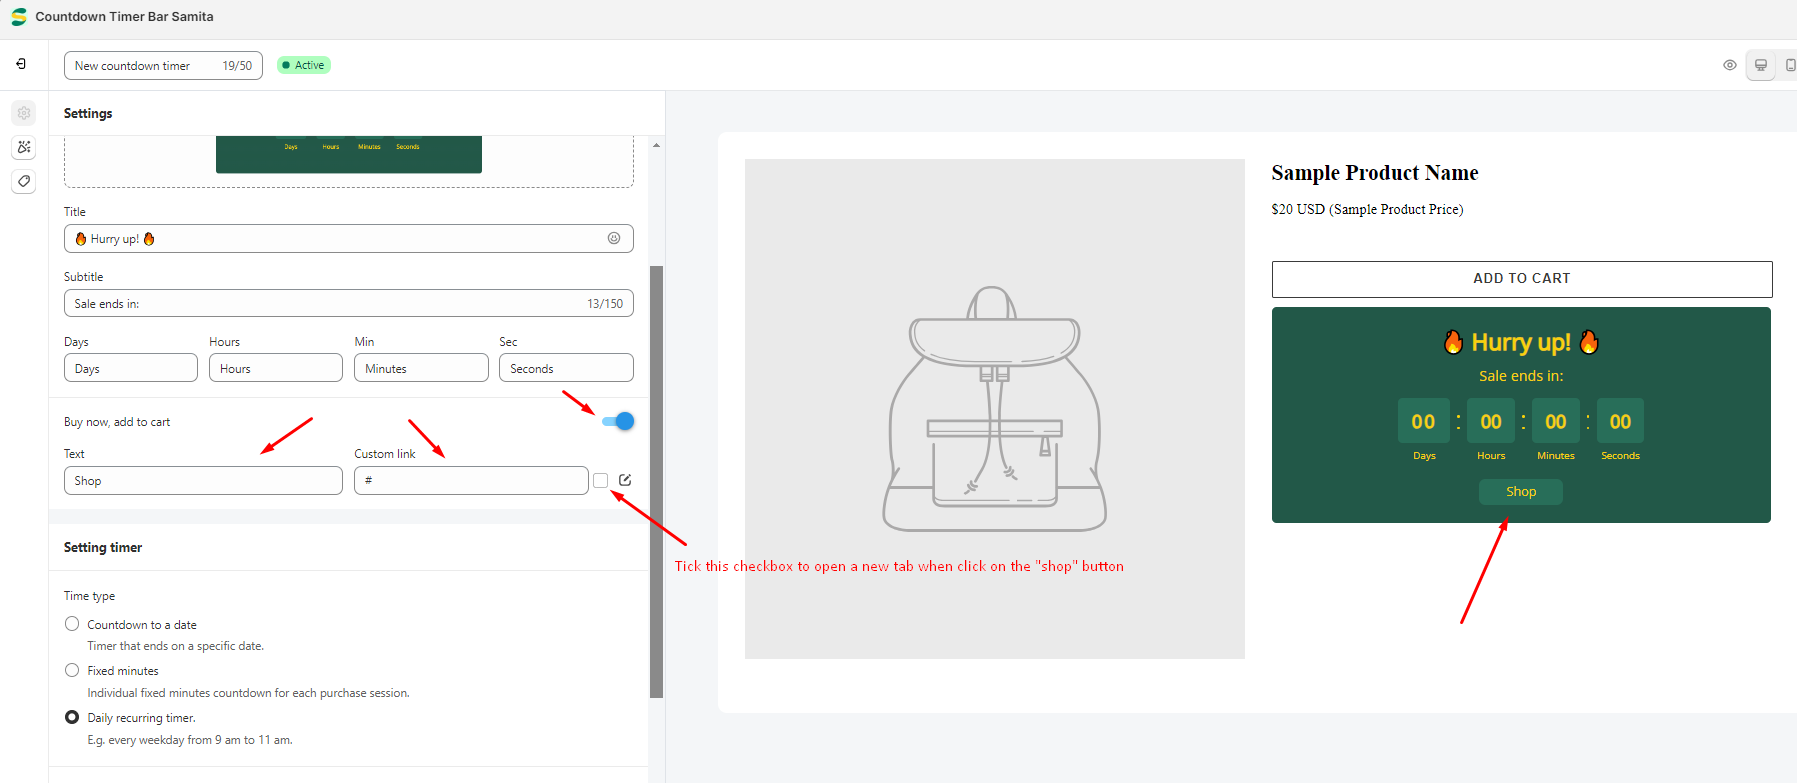
3. Show button (Optional): This setting helps you redirect the customers to the page where the sale presents to purchase stuff easily.
To use this feature, please turn on the slide “Buy now, add to cart” button, there will be a Text field for you to add content and a Link field so you can add the page URL you want the customers to be redirected to:
Setting timer:
There are 3 time types in this section. Depending on your choice, you can decide to apply the kind of time to the Countdown timer. For further understanding and explanation for each time type, please review this guide.
- Select the time type you like. For example, the Countdown to a date option is selected:
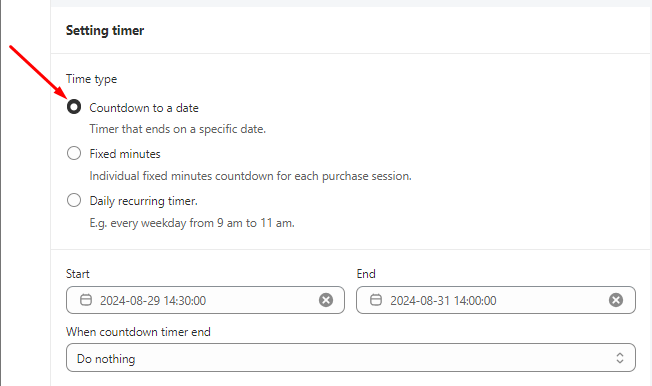
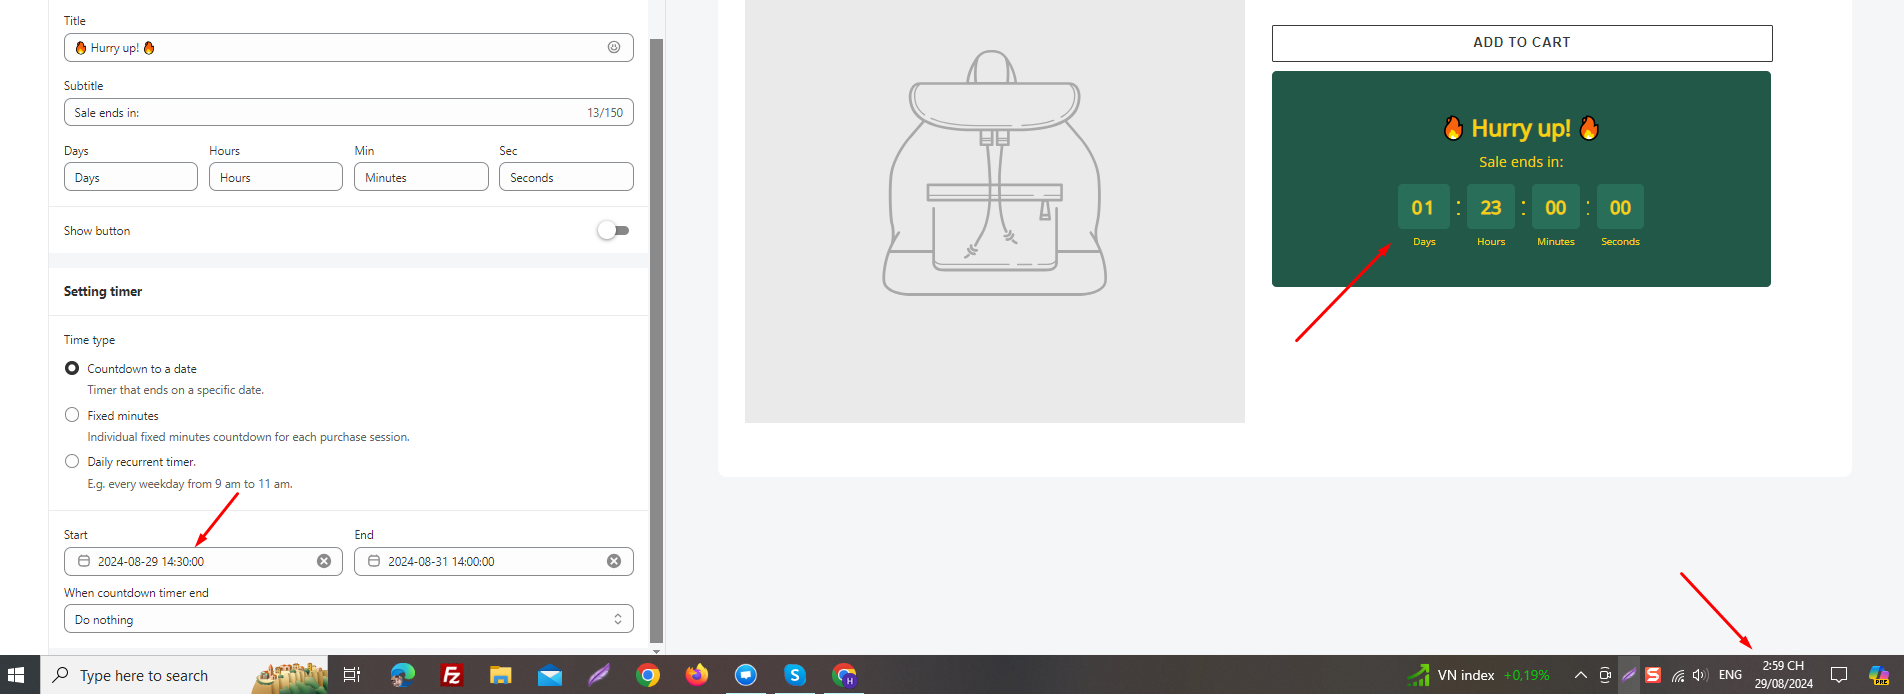
2. Set up the Start time and End time for the Countdown timer:
For example, the Sale event starts on 29/08/2024 at 14:30 pm and ends at 14:00 pm on 31/08/2024. The setup will be as follows:
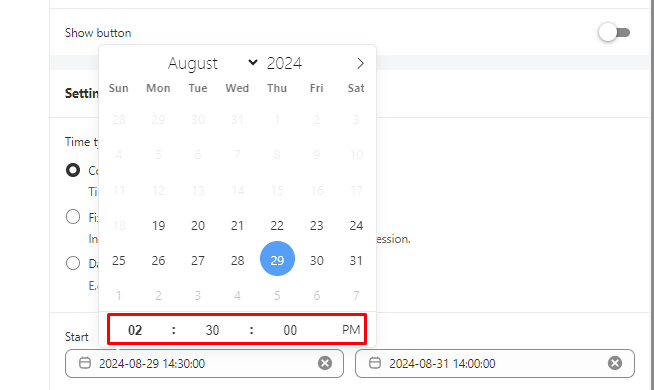
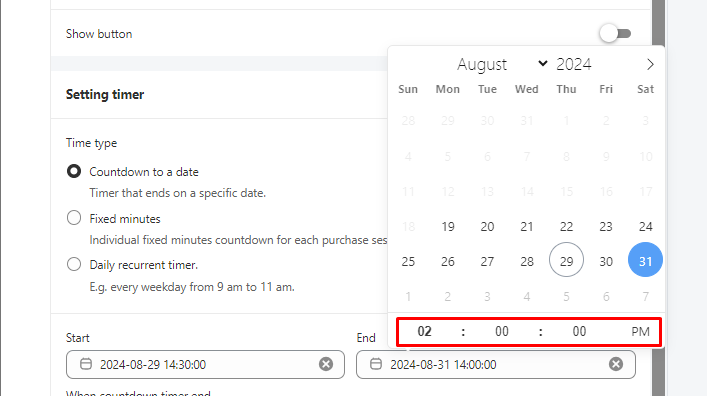
*Note: Our app uses the standard timezone for this time setting and displays the time due to the local timezone of your browser. Moreover, if you set up a time that is earlier than the current time, the clock will show as below:
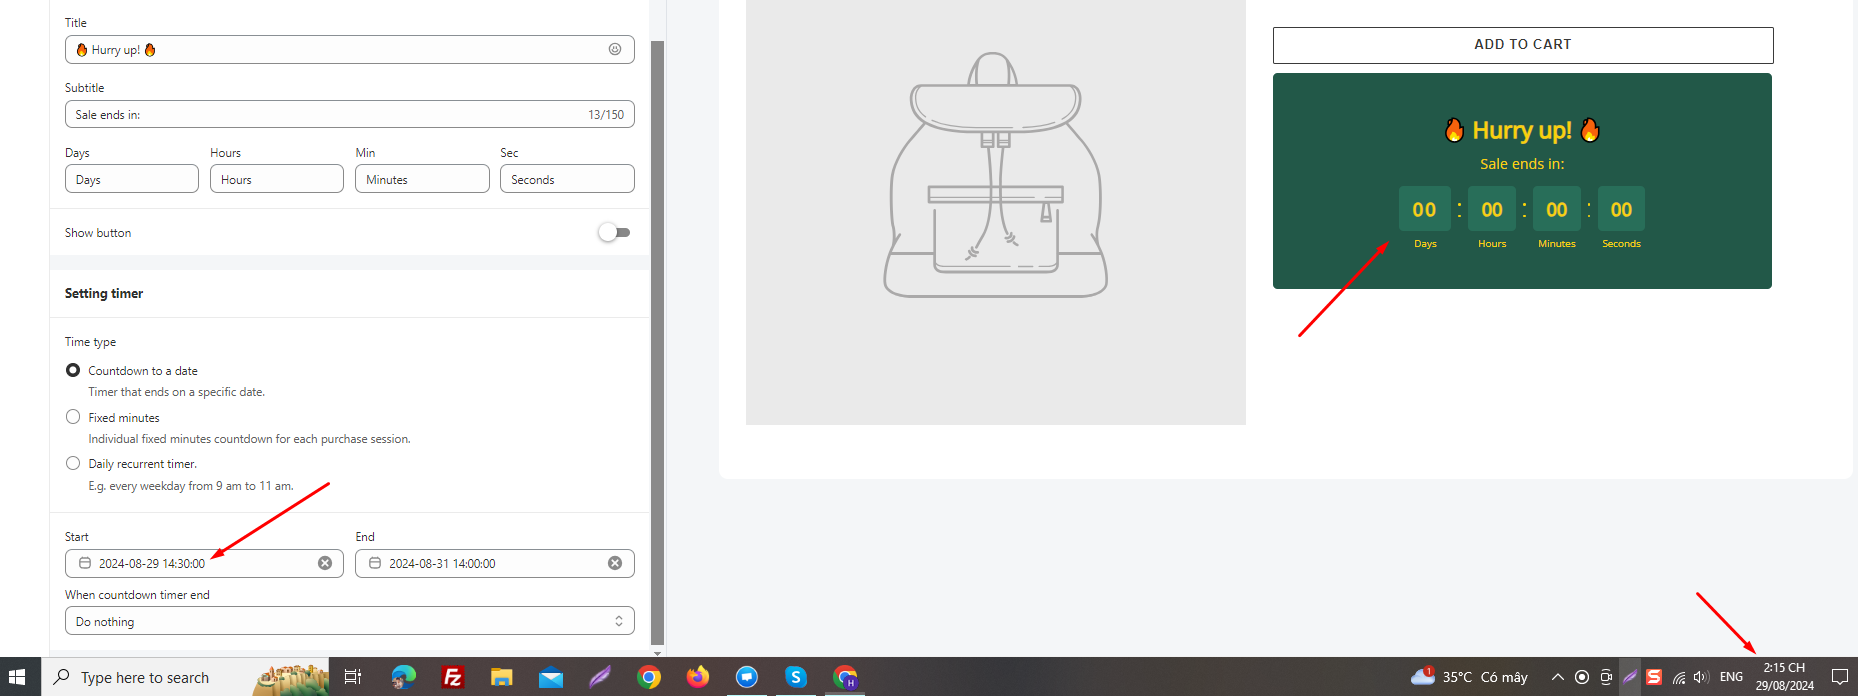
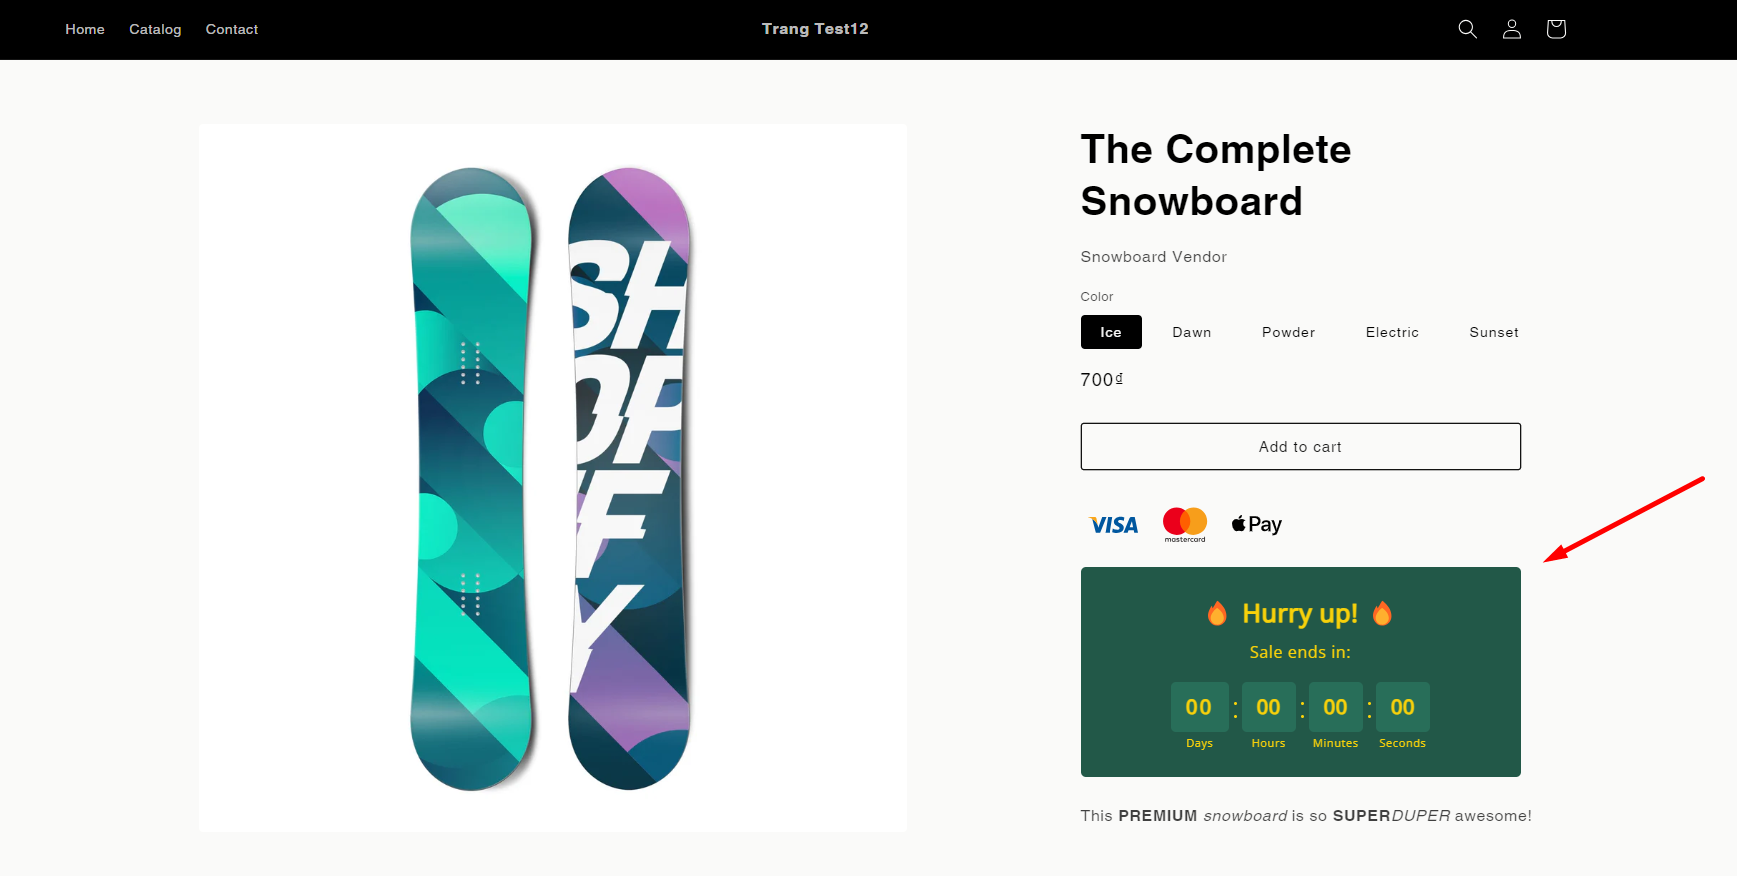
When the time starts, the clock is counting down like this:
This is a small note to avoid confusing users about this matter.
3. Select the timer’s action after ending the countdown:
– Do nothing: The countdown timer will stay the same on the page
– Hide countdown block: The countdown timer will disappear after the time ends.
Design the Countdown timer
Step to manage:
- Click on the Design icon
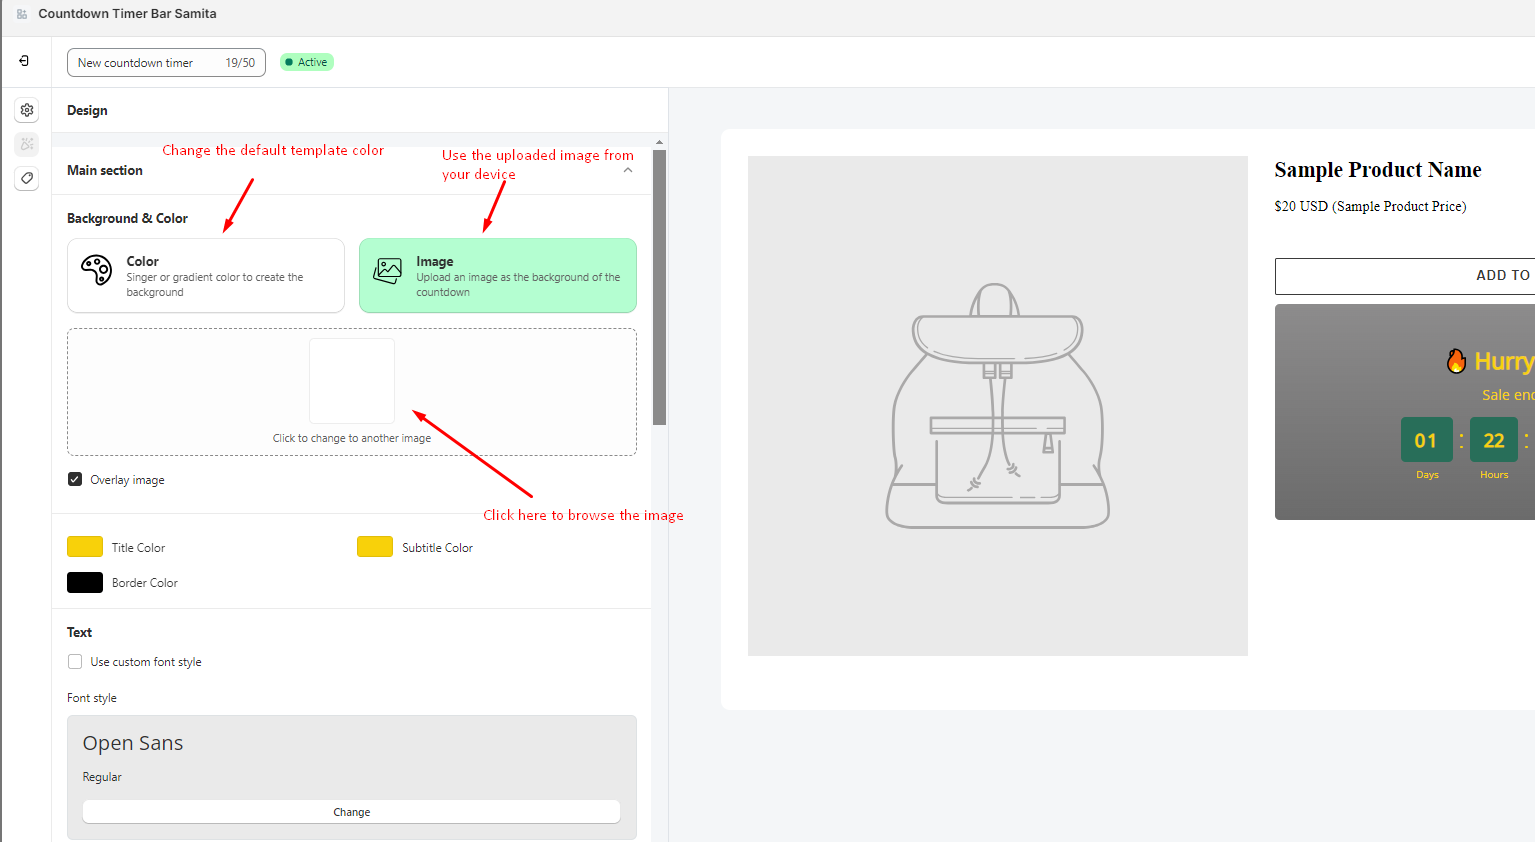
- You can choose to set up the template color or use the upload image setting:
3. Set up the color for the Countdown timer
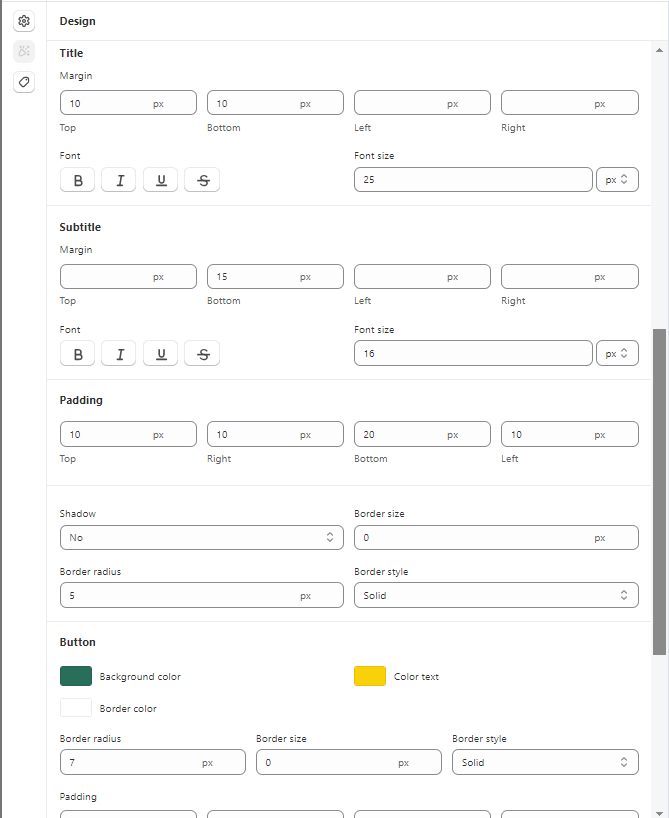
4. Design font text and border size for the Title, Subtitle, Padding and Button (Show button setting that is mentioned above)
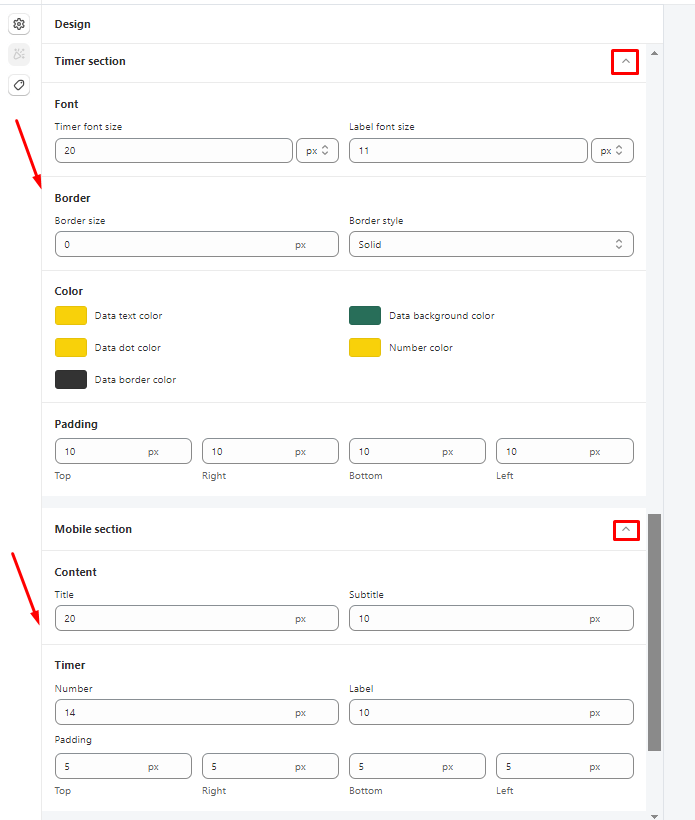
5. Click on the small arrow to design the Timer section, Countdown timer size on Mobile
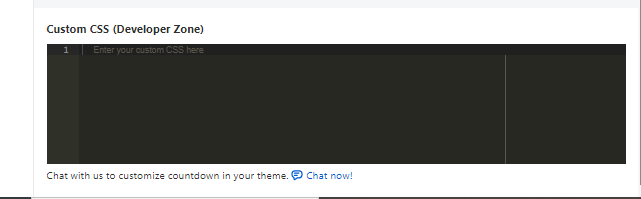
6. For further customization, you can use the Custom CSS box below to add CSS for the Countdown timer design:
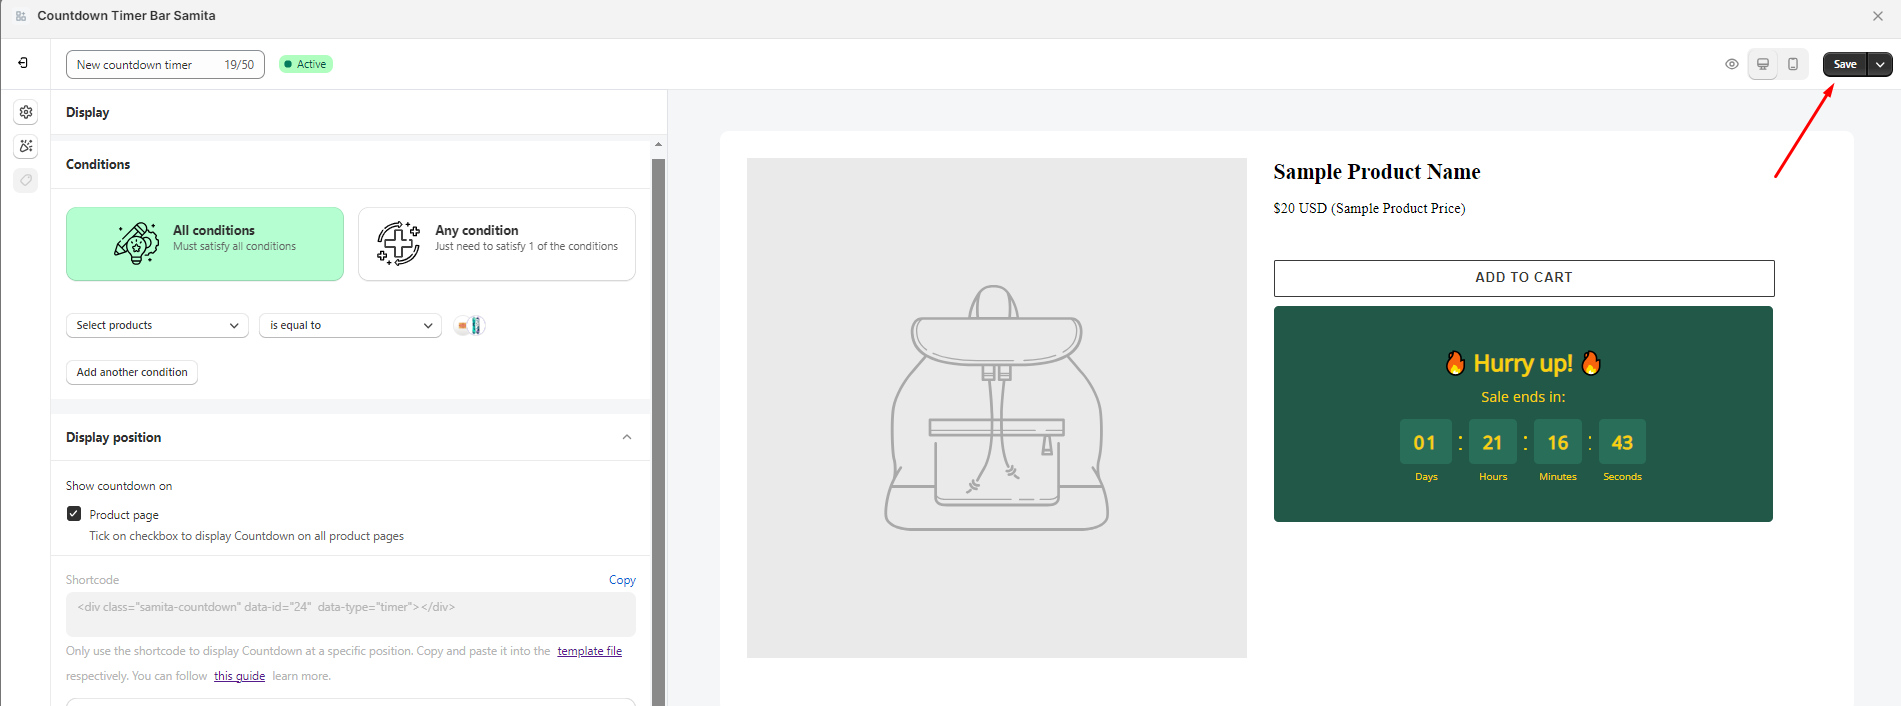
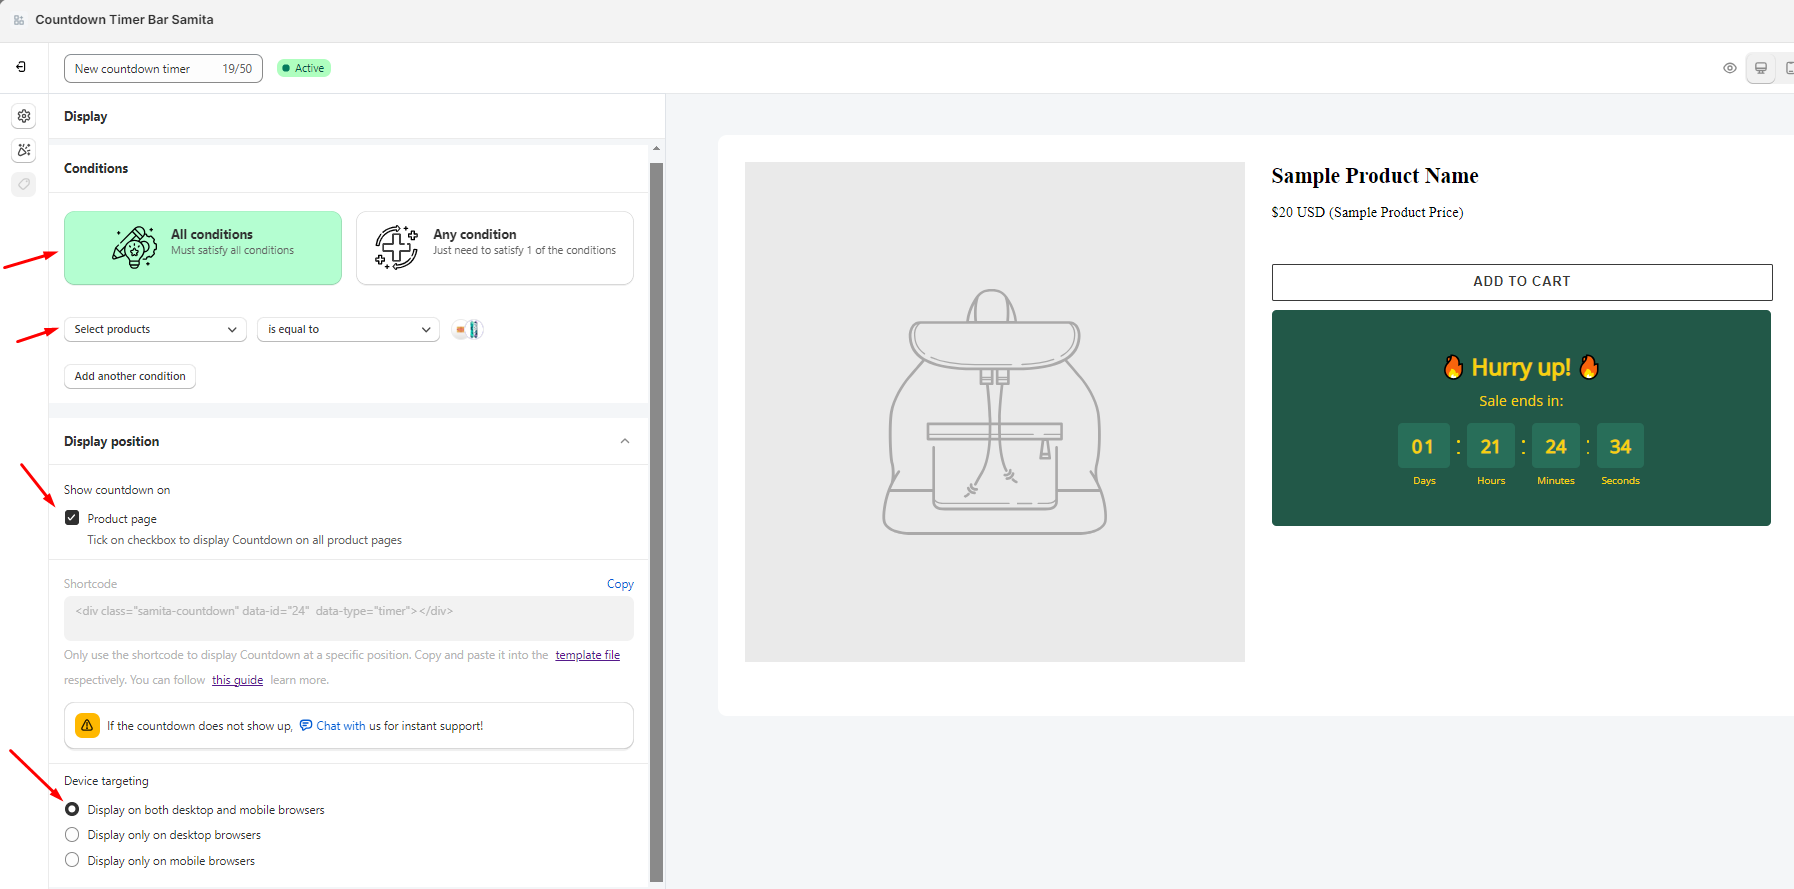
Setting Display condition for the Countdown timer:
- Configure the condition for the Countdown timer
- Set up display position: Show the timer on the product page or display it in other places by the Shortcode
- Set device targeting to choose the device you want to show the Countdown timer on: Desktop or Mobile.
For further information about this step, please review this guide for better understanding.
After finishing all steps to create the Countdown, click Save and start checking on the front store