
Create a Label or Badge
Manage labels/badges
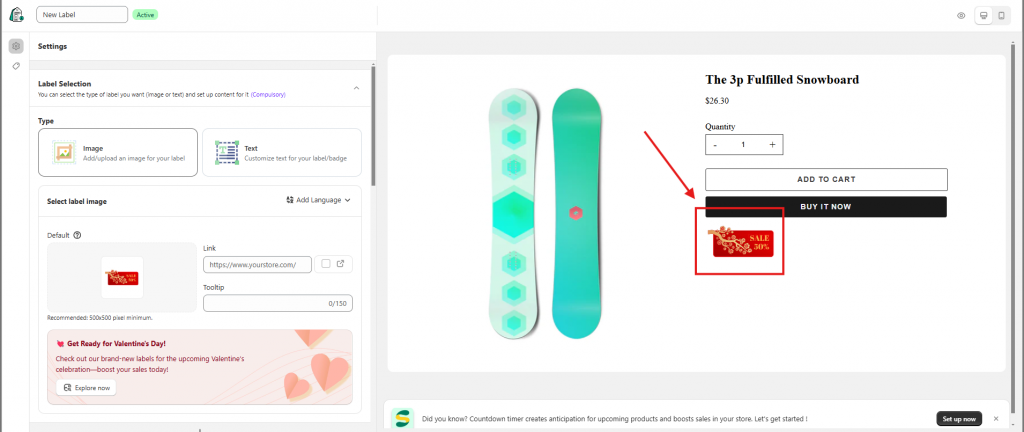
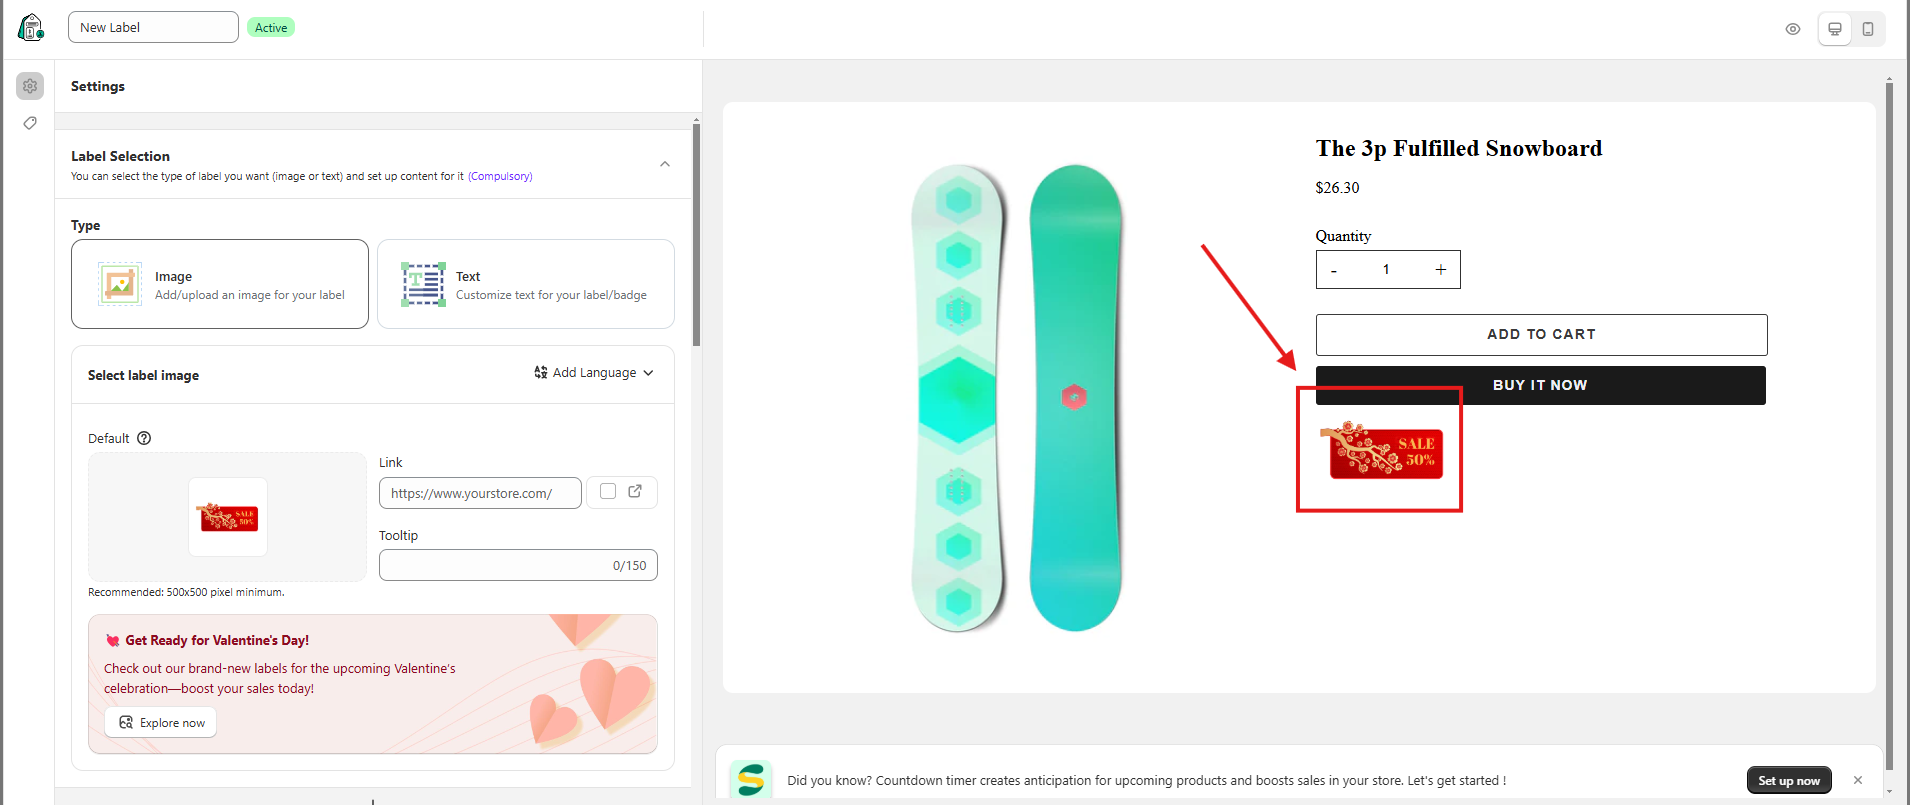
The labels/badges are different slightly in how they appear in a product. To be specific, a label will show up inside the product image, while a badge will appear outside the product image.
- A label:

- A badge:
Create an image label/badge
Steps to manage
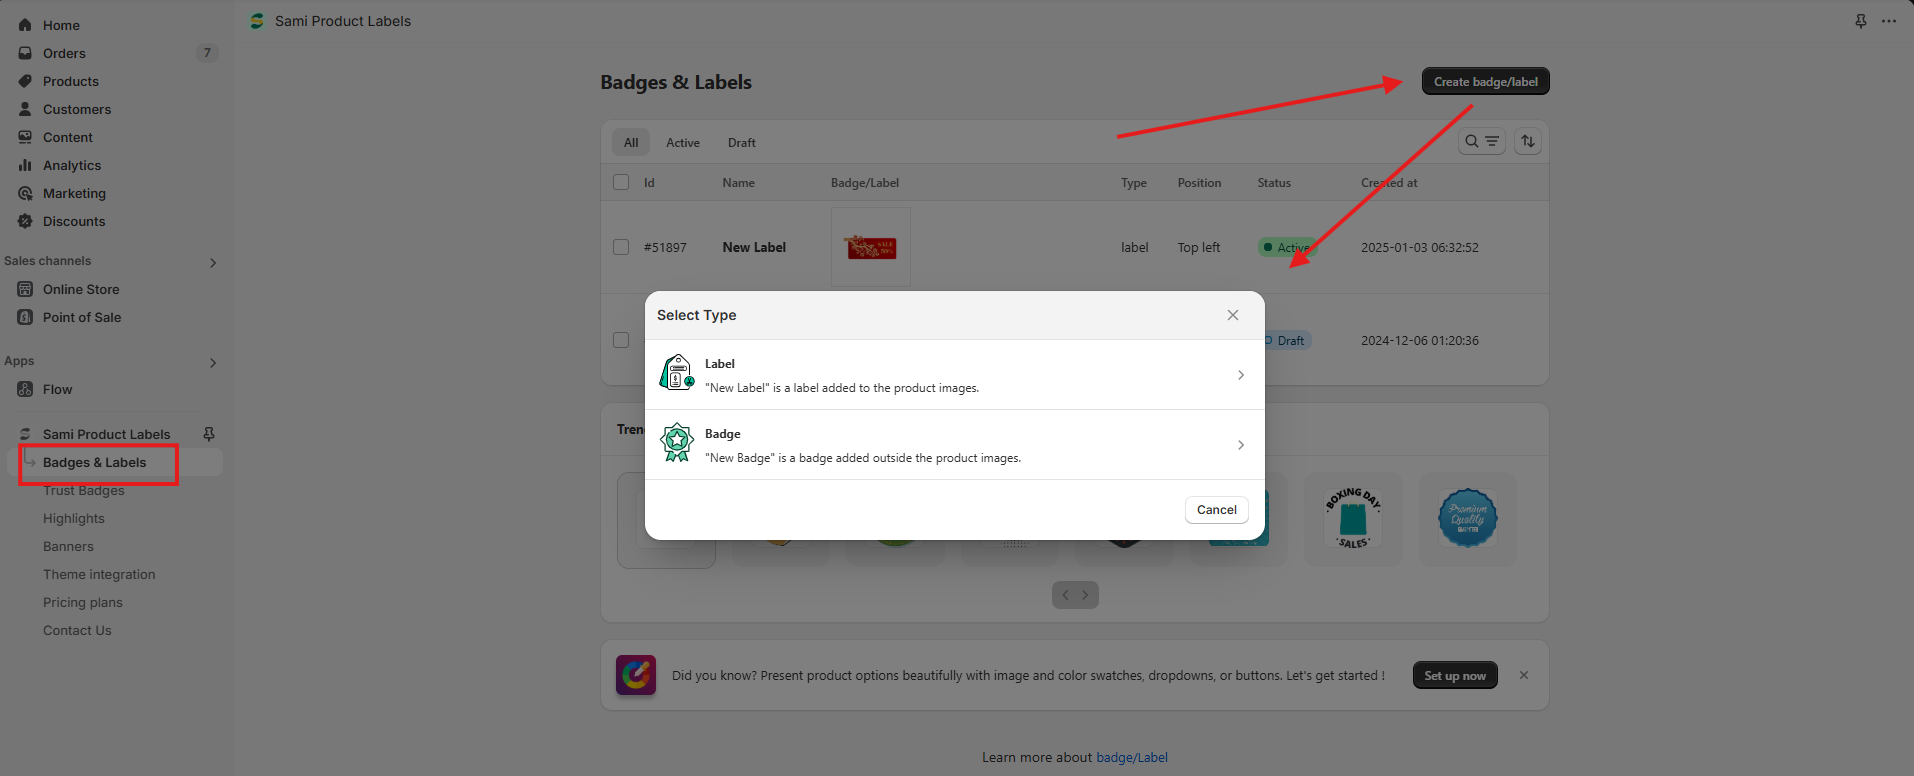
- From the app admin page, click Badges and Labels.
- Click the Create new badge/label button.
- Select Label type > click Create button (If you want to create a badge, then select Badge type).
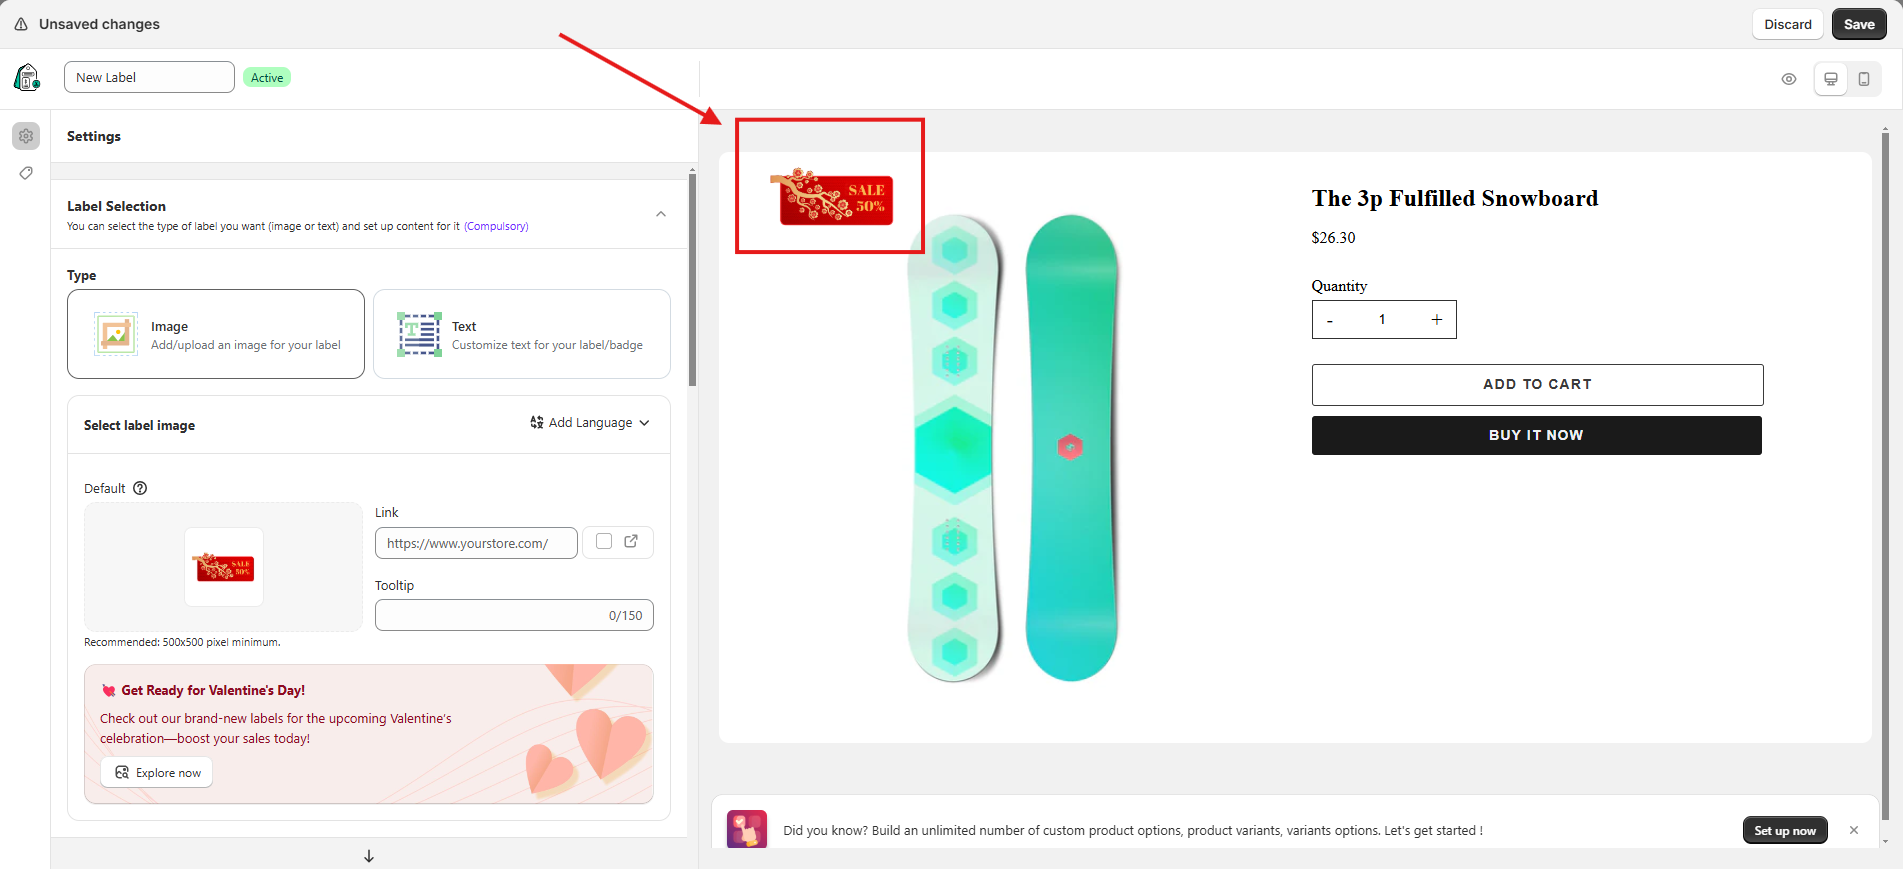
4. In the Label configuration, select the Image type.
5. Under the Select label image area, upload/select the label image you’d like to use.

6. Select products to show the label. Please view this guide for more detail
7. Click Save to update the changes.
Tutorial video
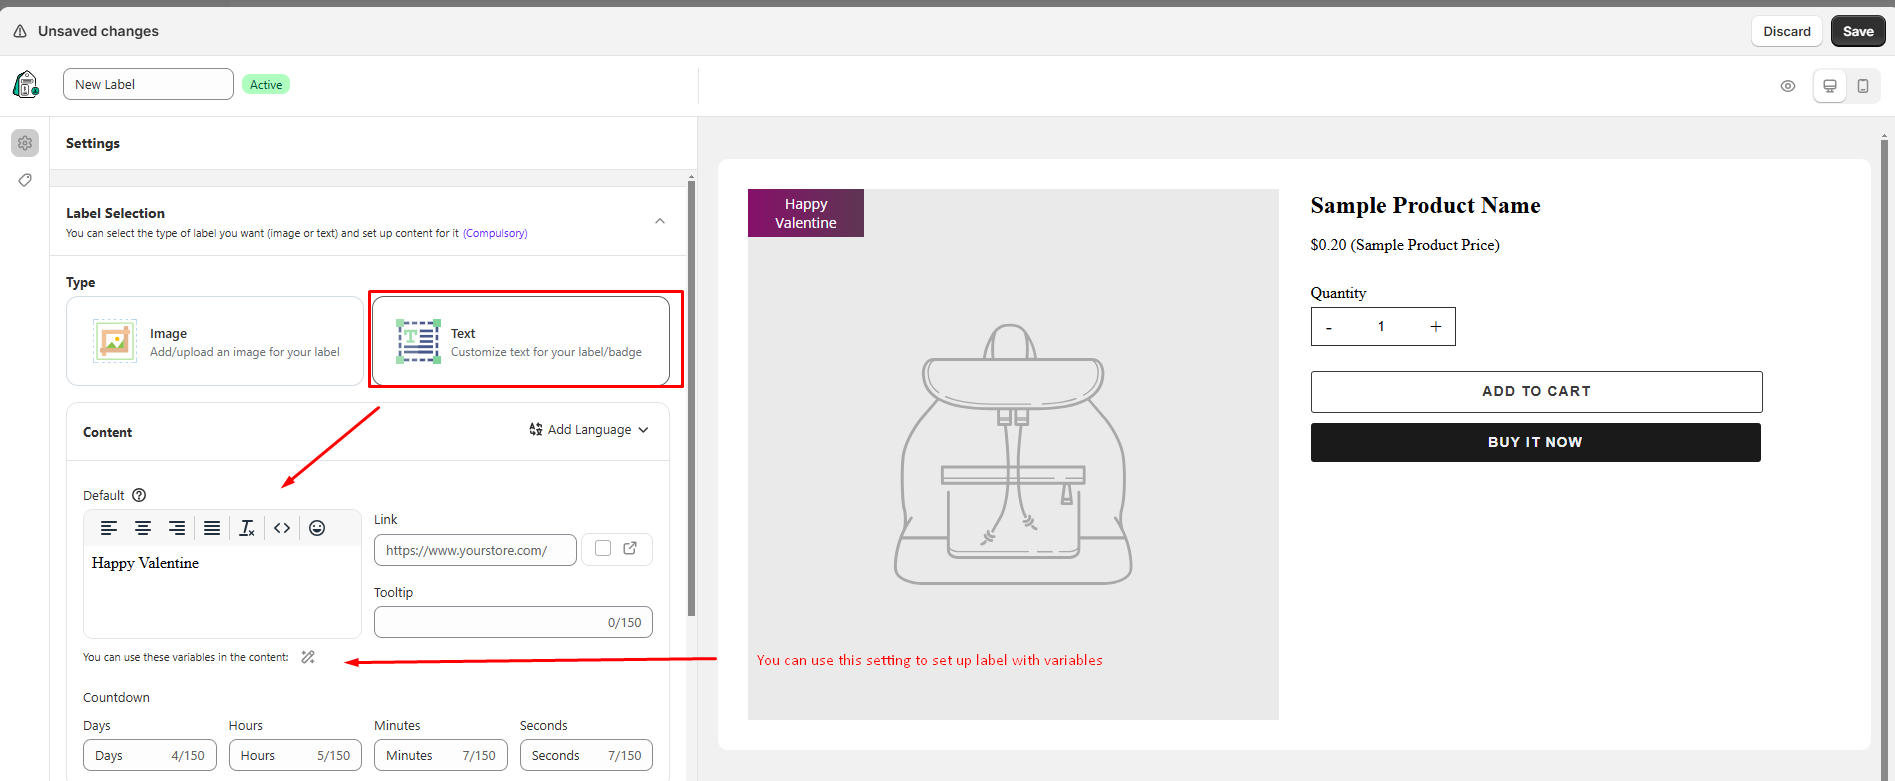
Create a text label/badge
Steps to manage
- From the app admin page, click Badges and Labels.
- Click Create new badge/label button.
- Select Label type > click Create button (If you want to create a badge, then select Badge type).
- In the Label configuration, select Text type.
- Under the Content field, enter the label name you’d like to use.
- Select products to show the label. Please view this guide for more detail
- Click Save to update the changes
NOTE: You can add available variables into the label text.
Example usage: Use {customer_order_total} variable to show the total order like this:
